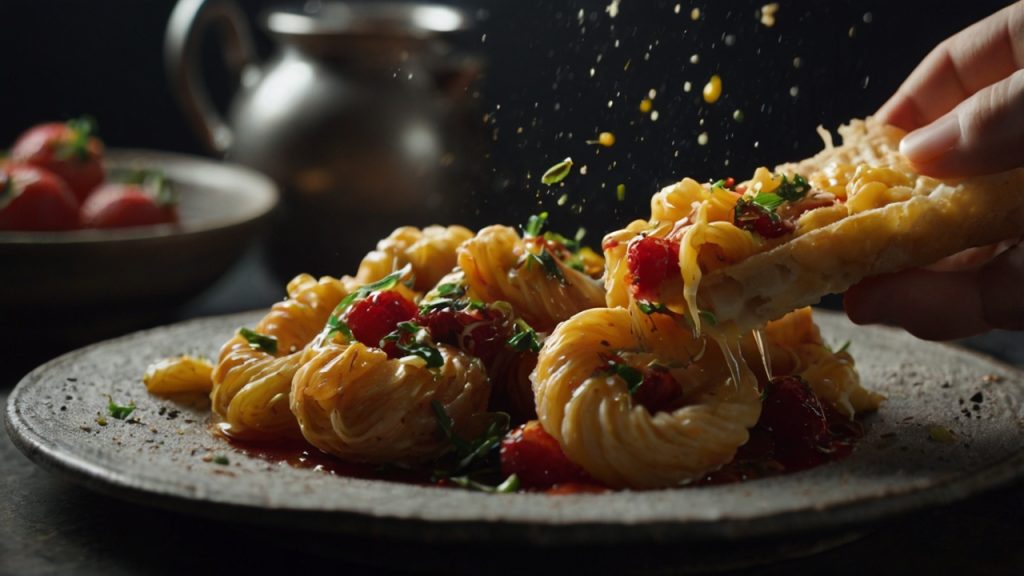
Food photography is all about capturing the textures, colours, and freshness of dishes in the most appealing way. While composition and lighting play a key role, your camera settings can make or break a shot. Whether you’re just starting or looking to refine your technique, mastering the right settings will help you produce sharp, vibrant, and professional-quality food photos. Here’s a complete guide from beginner to advanced settings to help you achieve mouthwatering results.
Beginner Camera Settings for Food Photography
If you’re new to food photography, start with semi-automatic modes before diving into full manual control.
- Mode: Use Aperture Priority (A/Av Mode) to control depth of field while letting the camera adjust shutter speed.
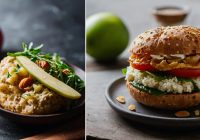
- Aperture: A wide aperture (f/2.8 – f/4) creates a soft, blurred background, while f/8 keeps more of the dish in focus.
- ISO: Keep it low (100-400) to avoid grainy images. Use natural light whenever possible.
- Shutter Speed: A speed of 1/100s or faster is ideal for handheld shots to prevent motion blur.
- White Balance: Auto works well, but Daylight or a custom setting can improve colour accuracy.
- Focus Mode: Use Single-point Autofocus (AF-S) to precisely control where the camera focuses—usually on the dish’s most appealing element.
Intermediate Camera Settings
Once you’re comfortable with basic settings, move to Manual Mode (M) for full control over exposure.
- Aperture: Use f/5.6 – f/8 for a balance between subject sharpness and background blur.
- ISO: Adjust based on lighting conditions, keeping it as low as possible (typically 100-800).
- Shutter Speed: If using a tripod, you can go slower (1/60s or less) to let in more light.
- Custom White Balance: Use a grey card or manual settings to get accurate food colours.
- RAW Format: Always shoot in RAW instead of JPEG for better flexibility in post-processing.
Lighting control becomes more important at this stage. Experiment with reflectors and diffusers to manage highlights and shadows without harsh contrasts.
Advanced Camera Settings for Professionals
For those aiming for professional food photography, fine-tuning settings is essential.
- Aperture: Use f/8 – f/11 for sharpness throughout the dish.
- ISO: Keep it at 100 for the cleanest image, adjusting only when necessary.
- Shutter Speed: With a tripod, use slower shutter speeds to capture more detail without noise.
- Focus Stacking: Take multiple shots at different focus points and blend them in post-processing for maximum sharpness.
- Custom Picture Profiles: Adjust contrast, saturation, and sharpness directly in the camera to maintain a consistent editing workflow.
- External Lighting: Use off-camera flashes or continuous lights with diffusers to shape and control highlights.
At this level, lighting setups and post-processing become just as important as camera settings. Mastering these will set your work apart.
Extra Tips for Better Food Photography
- Always use a tripod to keep images sharp.
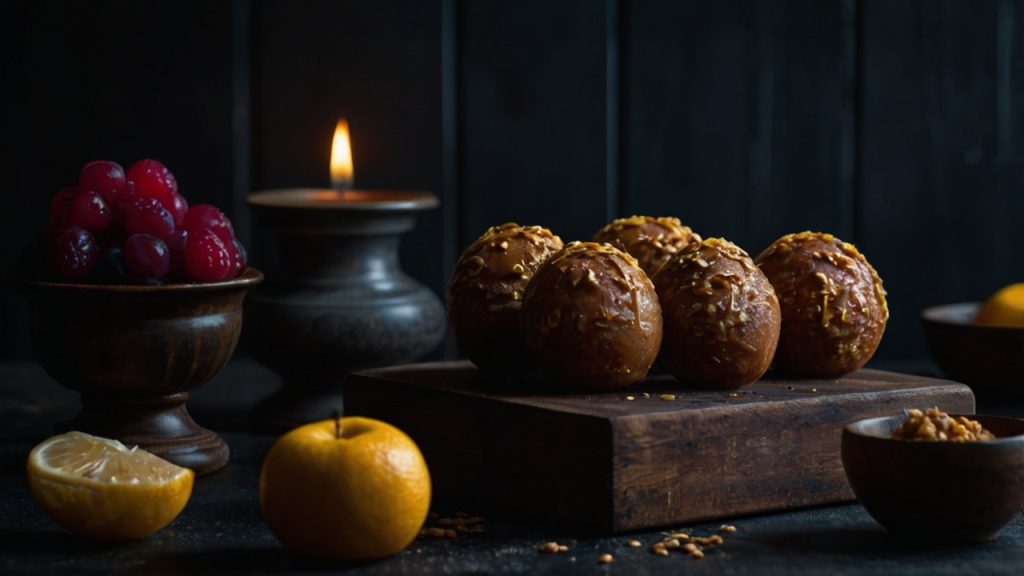
- Experiment with natural vs. artificial light to see what works best for your style.
- Use reflectors to bounce light and soften shadows.
- Try different angles—overhead for flat lays, 45-degree angles for plated meals, and close-ups for texture.
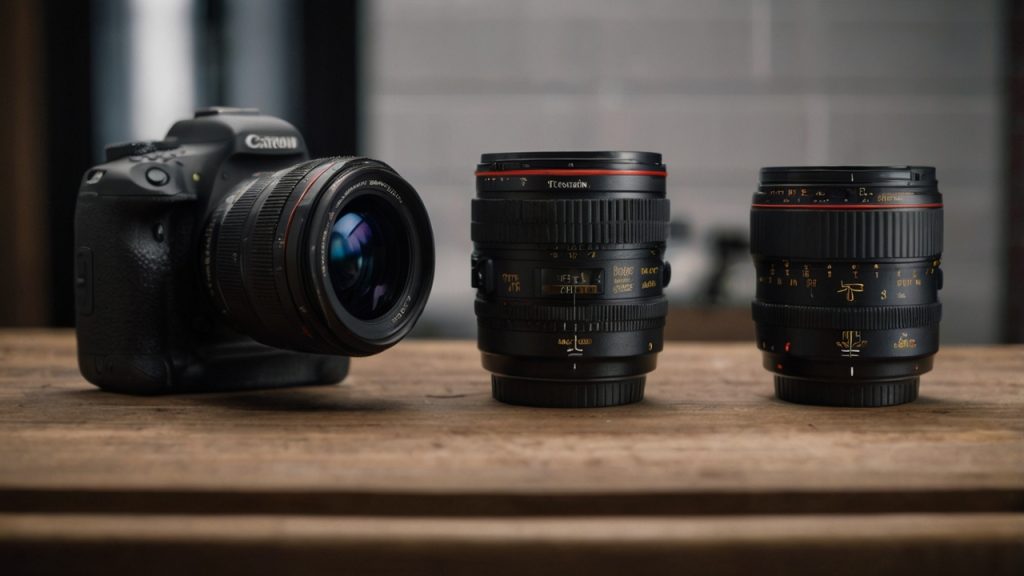
- Invest in a 50mm or 85mm prime lens for beautiful depth of field and crisp details.
Conclusion
Getting the perfect food shot is a mix of technical skill and creativity. Whether you’re a beginner using aperture priority or an advanced photographer working with focus stacking and lighting modifiers, the right settings will help you achieve stunning results.
If you’re looking for high-quality food photography for your restaurant, brand, or social media, SavorShort Photography can bring your dishes to life with professional expertise. Contact us to discuss your next shoot!