Lighting is everything in food photography. Whether you’re snapping a bright and airy breakfast scene or a moody, dramatic dinner plate, the way light interacts with your subject can make or break the shot. Natural and artificial light each have their strengths, and knowing when to use which can take your food photography from ordinary to professional.
Understanding the qualities of both types of light, how to control them, and when to combine them allows you to capture mouthwatering images that tell a story. Let’s break down how to effectively use natural and artificial light to enhance your food photography.
Natural Light: Making the Most of What’s Available
Natural light is a favorite among food photographers for its soft, organic feel. The best time to shoot with natural light is during the golden hours—early morning and late afternoon—when the light is diffused and flattering. However, even midday light can be tamed using diffusers, sheer curtains, or reflectors.
Tips for Using Natural Light:
- Find the Right Window: A north- or south-facing window provides consistent light throughout the day.
- Use a Diffuser: Harsh direct sunlight can create strong shadows. A professional diffuser softens the light.
- Experiment with Angles: Side lighting emphasizes texture, while backlighting creates a glow, perfect for beverages and soups.
- Control Shadows: White foam boards or reflectors bounce light back onto the subject, filling in shadows naturally.
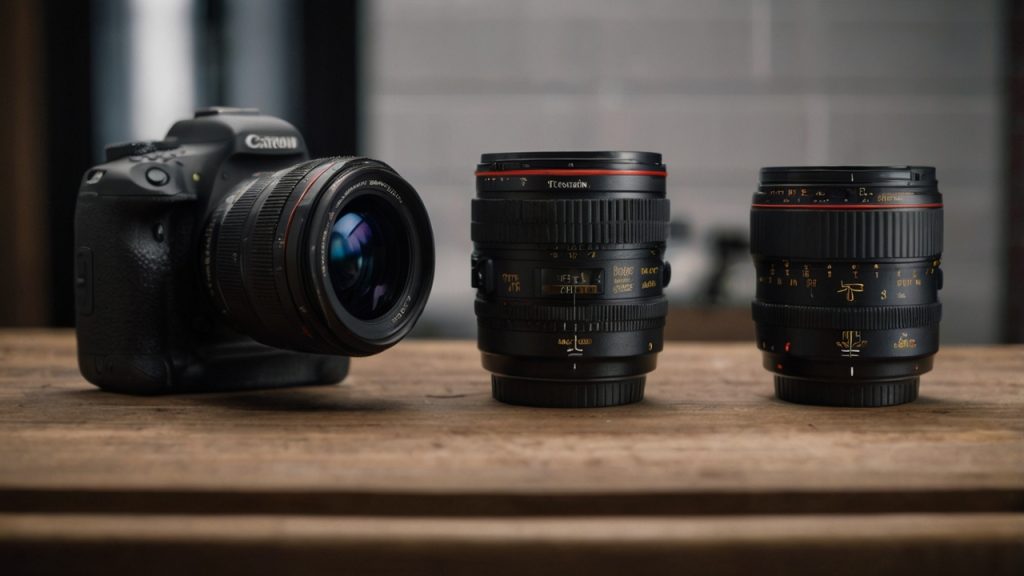
Artificial Light: Mastering Consistency & Control
Artificial light is ideal for food photography when natural light isn’t available or when consistency is key, such as for commercial shoots. LED panels, softboxes, and strobes are commonly used to mimic daylight or create specific moods.
Tips for Using Artificial Light:
- Choose the Right Bulb Temperature: Look for bulbs labeled “daylight” (around 5000K) to keep colors natural.
- Use Softboxes & Diffusers: These tools spread light evenly, reducing harsh shadows.
- Position Your Light Source Wisely: Like natural light, artificial light works best when placed at an angle.
- Combine Multiple Lights: Use fill lights and bounce cards to avoid overly dark areas.
Mixing Natural and Artificial Light
Sometimes, combining both light sources creates the best results. For instance, if natural light is too weak, a soft LED panel can add brightness without overpowering the scene. The key is to match the color temperatures of both sources to maintain consistency.
Conclusion
Mastering both natural and artificial lighting in food photography opens up endless creative possibilities. Whether you’re working with soft morning light or setting up a controlled studio environment, understanding how light shapes food images helps you achieve stunning results. If you’re looking for professional food photography that brings your dishes to life.
Savorshots Photography specializes in capturing the perfect shot. From bright, fresh compositions to moody, dramatic setups, we deliver high-quality images that showcase food at its absolute best. Let us help you tell your food’s story through exceptional photography!